Recently I bought a set of 3.7V LiPo batteries for my son’s Maplin drone. I wondered if I could use these to power a Micro:bit. In this article I’ll show you how but it’s a little more involved than using the standard battery pack.
Lithium Polymer batteries are now widely available and are used in lots of consumer electronics from mobile phones to drones. They are usually rated at 3.7V and come in various capacities.
Based on the information on the official site it became clear the maximum voltage you want to present to the Micro:bit’s battery connector is 3.6V.
Therefore connecting a 3.7V LiPo would risk damaging the components especially as some LiPo batteries could be as much as 4.2V when fully charged. I measured mine and they were indeed 4.2V.
3.3V Voltage Regulator
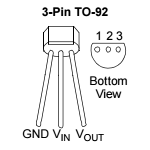 So I decided to use a 3.3V voltage regulator to provide 3.3V to the Micro:bit. The regulator I used was a Microchip MCP1702 3.3V Voltage Regulator which comes in a TO-92 package and looks similar to common types of transistor. It can provide up to 250mA which is plenty for the Micro:bit.
Circuit
The circuit looks like this :

The datasheet recommended also using two 1uF ceramic capacitors. One capacitor is placed between GND and Vin. The other is placed between GND and Vout. The Ground is common between both connectors and the regulator. The LiPo provides the input voltage and the regulator provides 3.3V to the Micro:bit.
Power Connectors
The LiPo battery and Micro:bit use different connectors.
The LiPo has a “micro-T” connector which is popular on drone and other RC vehicle batteries. The Micro:bit has a JST “PH” header.
I bought a set of appropriate connectors with wires that I could solder onto the regulator.
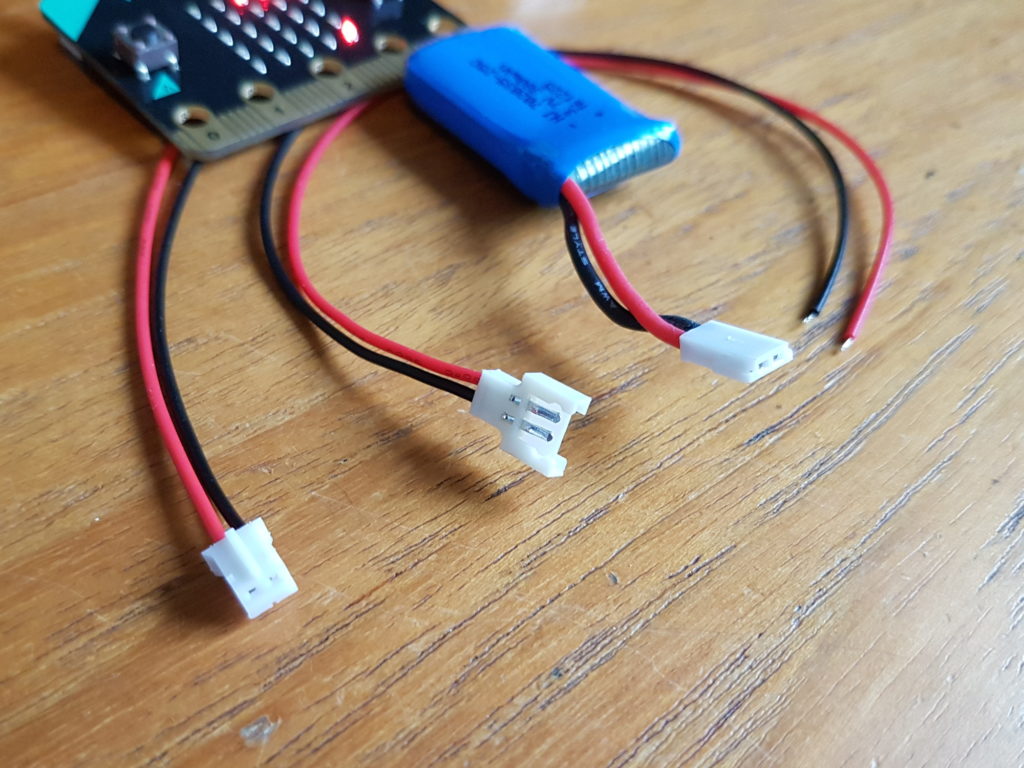
In the photo above the connectors are JST PH (left), Micro-T header (middle), Micro-T plug (right).
These allowed me to attach the battery to the components and then attach to the Micro:bit.
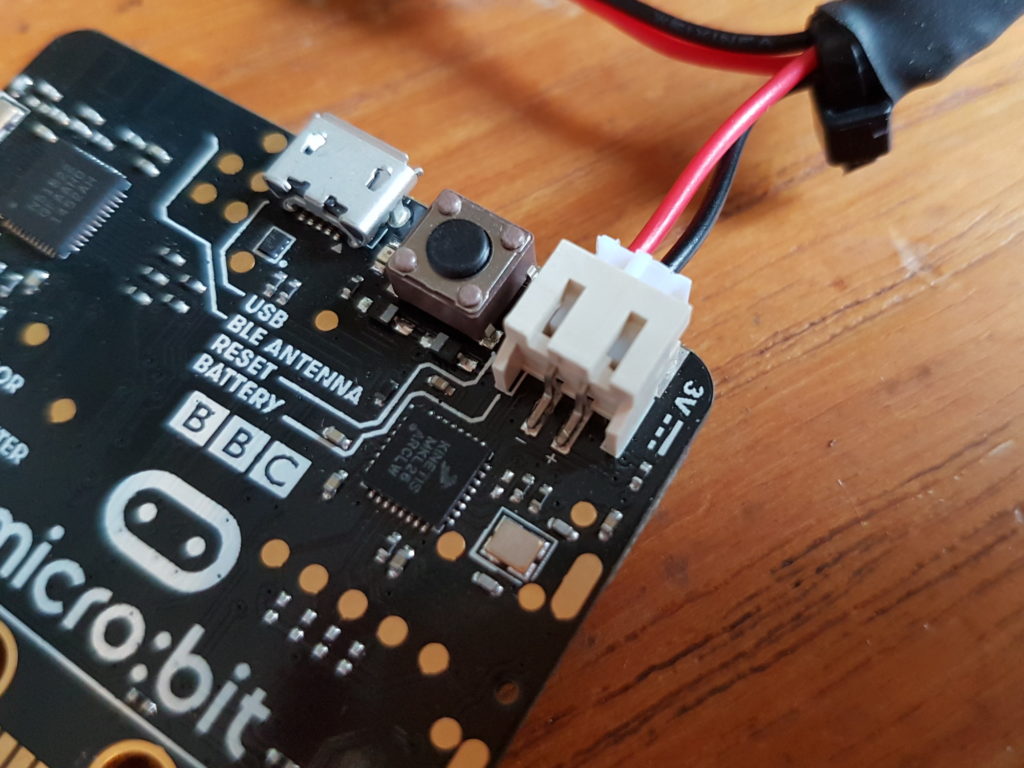
An important detail is the + and – marked on the PCB. The red and black wires on the JST plug were the “wrong” way round so I had to solder the black wire to the voltage regulator’s Vout pin with the red wire going to the ground pin.
Testing
I created the circuit on breadboard and used a multi-meter to check that there was no short-circuit between Vin and Vout. Once the battery was connected I checked the output voltage was 3.3V.
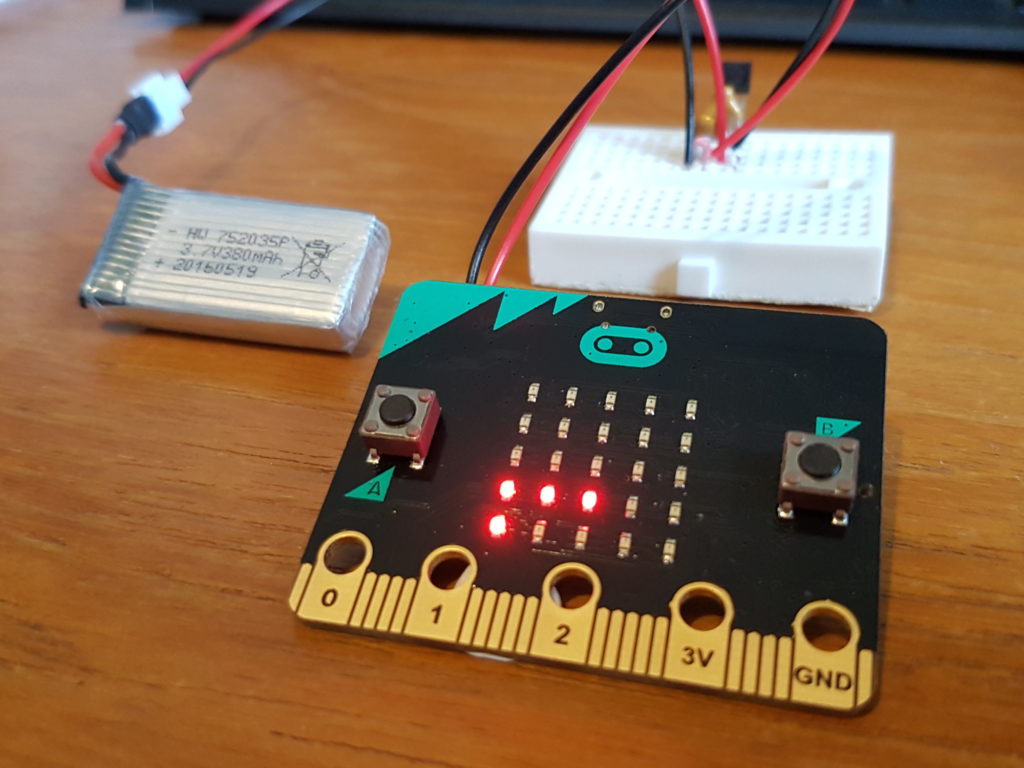
Originally I planned to make a small board using stripboard but in the end solder the components together.
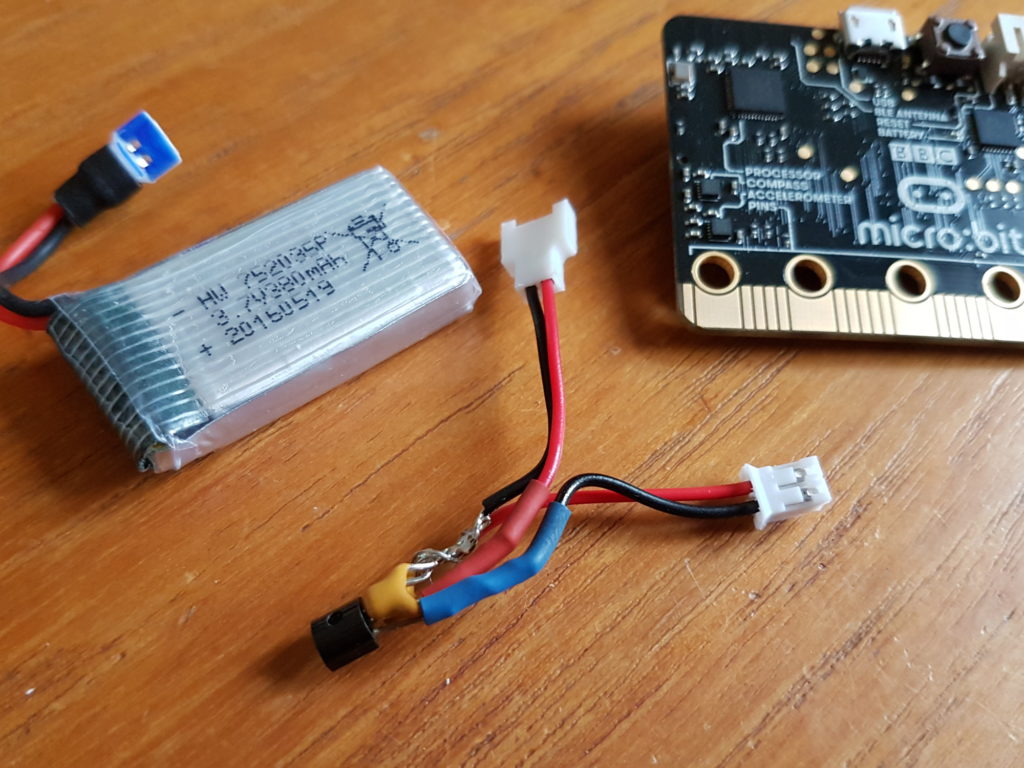
… and covered in heat-shrink tubing.
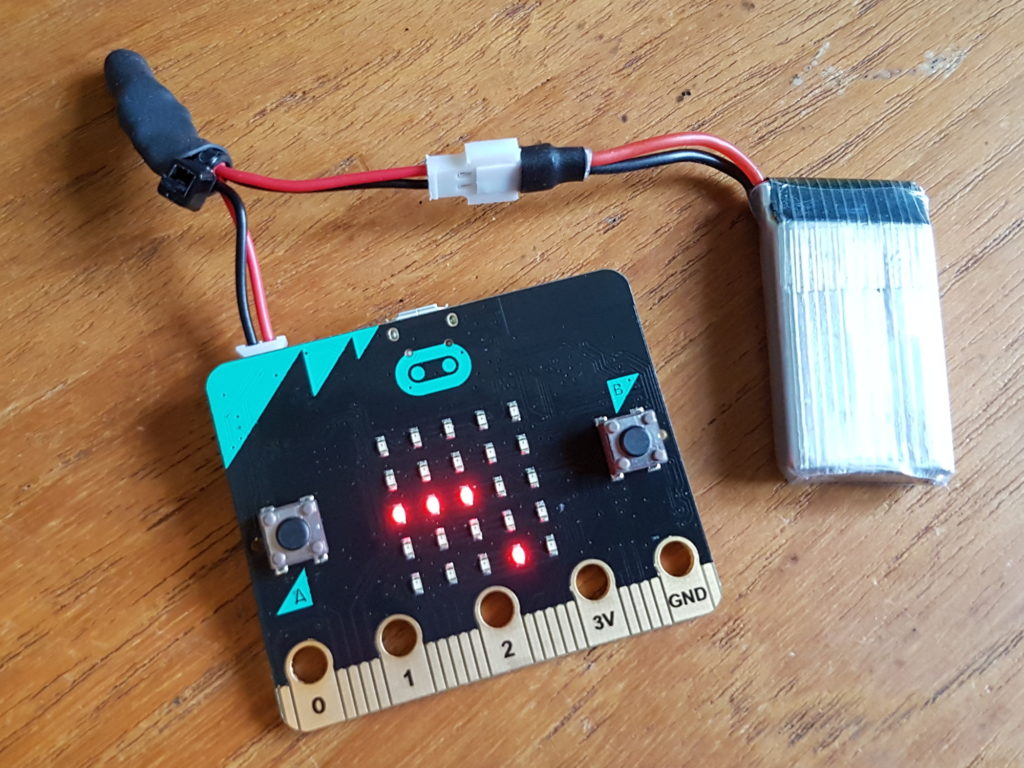
It worked and I created a basic programme in the block editor to test how long my 380mAh battery would last.
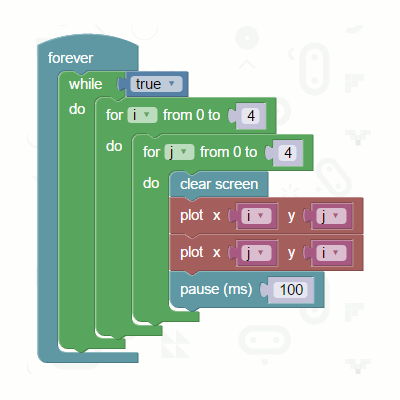
This creates a repeating pattern on the LED grid and I left it running until the battery ran out.
It lasted for over 98 hours.
Shopping List
- Micro:bit from [Farnell]
- 3.7V 380mAh LiPo battery from [eBay.co.uk] or [eBay.com]
- Micro-T connector sets from [eBay.co.uk] or [eBay.com]
- JST PH connectors with wires from [eBay.co.uk] or [eBay.com]
- Microchip MCP1702 3.3V voltage regulator from Farnell [Link]
- Ceramic Disc Capacitors 1uF from [eBay.com] or [eBay.co.uk]
These are fairly standard parts and are available from lots of other online retailers. You may want to shop around depending on postage costs and quantities required.
LiPo Battery Safety
Lithium Polymer batteries can cause serious fires. Ensure you look after your batteries and protect them from physical damage or extreme heat. Do not connect a battery to any equipment that is damaged. If using within your own creations double check your wiring, ensure a quality of soldering and insulate bare metal to avoid short circuits.

I have used LiFePO batteries. Nominal voltage 3.2V. No need for a regulator.
I was planning on using 18650 batteries to power my micro:bit but they also can have a voltage of up to 4.2V. I already bought the battery holders and JST plugs and my JST plugs also have the red and black wires in the incorrect order. I’m glad I read your blog before I connected everything to my micro:bit. I don’t think I would have noticed the wires being reversed. So thanks!